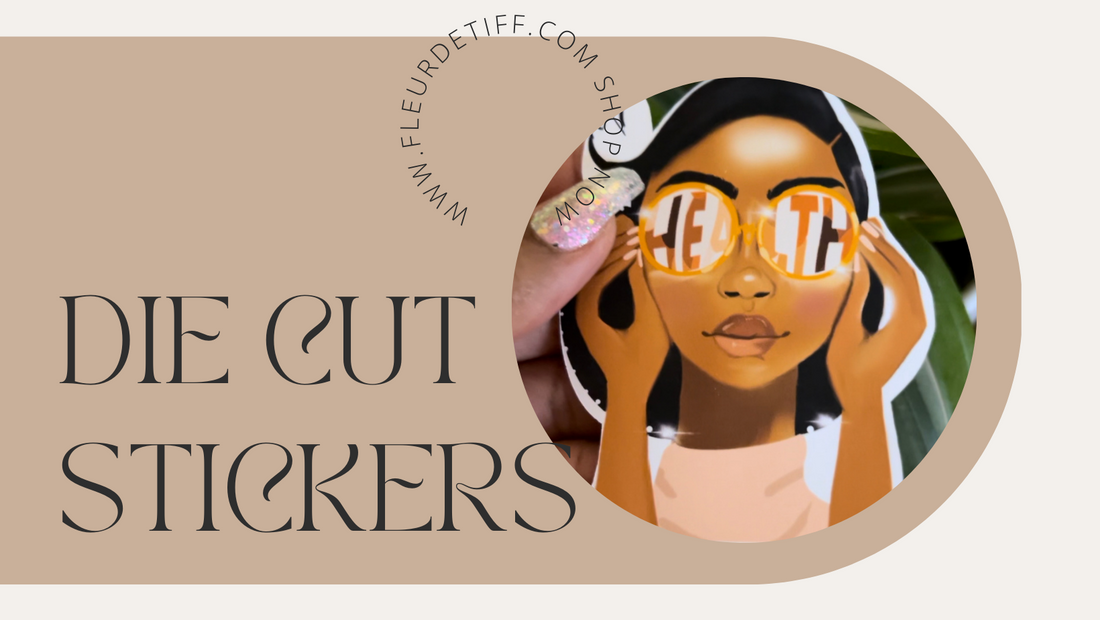
Behind the scenes- How I make my die cut stickers
Share

I love creating. From unique sketches to making stickers, it is a very therapeutic processes. Are you looking to make your own stickers? Whether it's for fun or for business, this blog post goes behind the scenes on how I make my die cut stickers.


For this post, I will use several of my illustrations to demonstrate how I create my die cut stickers. Find a body pose or reference photo to use and begin to sketch and then digitally paint your illustration as shown above.

Once you have your illustration, make sure to create a new layer beneath the art layer. You will use this new layer to outline your illustrations in white.


For easy cutting of both die cut and kiss cut stickers, I love to use my Cricut Air Explore 2. For die cut stickers, you could also cut by hand if you do not have a paper cutting machine like the Cricut, however if you are going to mass produce or make several at a time the Cricut is such a great option. To get your Cricut to cut die cut, I set my material as Cardstock+. This will cut through the sticker paper allowing you to peel it straight off of the mat vs kiss cut, where you just peel the sticker off of the sticker sheet.

Voila! You have die cut stickers. 
I hope this short behind the scenes was helpful. It's just a small glimpse of how I create my die cuts. If you are a sticker maker, what programs or software do you use?
-Tiff